Wednesday, May 6, 2015

Seed Saving and Self-Sown Plants


Our garden has several varieties of flowers that are self-seeding, a few herbs and one type of spinach. Just wish we had room for more, but we still get lots of enjoyment from our little garden. So, save the seed to plant later or sow the seed in a seedling spot (nursery bed), or do both.

A few rules to remember:
1. Learn to identify the self seeder seedling!

2. Don’t hoe or dig up the garden spot too early.

3. In the fall, toss the seeds in the area you want them to germinate.

4. In the spring you can move the seedlings to the beds to grow in for the season.

5. If you aren’t having any luck getting seed to germinate check to be sure you’ve started with heirloom seeds, that will produce viable seed.

6. In some cases you will need to start with fresh seed about every 3 years. Yes there are exceptions to that statement.

7. Storage: Put your seeds into a paper bag for a few days to be sure they are dry before storing. You can store them in a cool dark place in jars (plastic or glass) or in bags (paper or plastic) and they will stay viable for years. You should test seeds every year if you do plan long term storage of bulk seed.

If you are trying to decide if seed saving is for you check out the Seed Savers Exchange they have great list of 40 reasons to save seeds, on their blog. http://blog.seedsavers.org/blog/40-reasons-to-save-seeds

Monday, May 4, 2015

The ever elusive Morel Mushroom


The morel season started almost a month early this year; normally we start searching around Mother's Day. As the old saying goes, "The early bird catches the worm," or in this case picks the morels! We have been very fortunate to find them and will enjoy every bite! The dehydrator was full so we froze two cookie sheets full, saved out a few for cooking fresh and gave some to my hubby's mother. 


It has been proven incorrect about the spreading of spores through keeping them in a mesh bag, also pinching or cutting them off is incorrect, they grow from spreading their spores not roots. What they have determined is that as soon as the mushroom pops up the first breeze will spread the spores, so by the time we pick them they have already cast off most of their spores. However, we do cut them off to keep them as clean as possible.


Garden's bounty


It won't be too long before we can gather up some nice fresh vegetables from the garden. The peas are up, the lettuce and spinach are about ready to pick and I'll be starting squash plants and planting beans soon. Sure hope we don't get a late frost!


Wattle Fence ~ for supporting the Sugar Snap Peas


Wattle Fence ~ My first attempt


Wednesday, April 8, 2015

Tennessee ~ A walk in the woods

A couple of years ago our cousins decided to leave the Pacific Northwest and move to Tennessee. They have been keeping us updated on the progress they have made in making a beautiful, rural area their home. The property has an established woodland and the Dogwood trees are starting to bloom as well as the wild violets. A few ferns have started shooting up their delicate fronds; a sure sign of spring.


Monday, April 6, 2015

Australia ~ Secret Rainforest


A friend of ours recently moved to a very rural area of Australia and in his travels around the new place found a spot that hasn't been seen by man for many years. What he found was a hidden gem of native plants that are as beautiful as they are unique. He has graciously shared a few pictures for us to enjoy.


Sunday, April 5, 2015

Easter Sunday ~ Birds along the back roads


We enjoyed a wonderful Easter buffet at our favorite restaurant followed by a leisurely drive to the nearby wildlife area. An abundance of hawks on the lookout for a meal as well as Canada geese and several varieties of ducks bobbing around the wetlands were great to see but hard to photograph. We spotted a couple of rooster pheasants who quickly ducked under cover and two owls, a Great Horned and a Barn Owl. As we passed the area where the Sandhill Cranes usually are this time of year we were disappointed to find not a one however, we decided to take a back road that we hadn't traveled since last summer and to our delight found the Cranes in a farmer's field. They were a bit hard to count as they were quite far out but it looked like about 30 of them were busy making a meal of whatever the plowed field had to offer. (Remember, you can click on the pictures for a better look!)

Barn Owl also called a Night Owl~ 13 to 15 inches tall 
with a 31 to 37 inch wingspan

Sandhill Cranes ~ 2 ft 7 in to 4 ft tall
with a 5 ft to 7 ft wingspan


Wednesday, April 1, 2015

Pretty little pansies


Something to brighten up any day and just the thing for a cloudy day! I love pansies, big and small and these are just gorgeous! These are the first of the season offerings at a local store and they just needed to come live at my house.


April Fool!


Well, well... we start the day with a little snow. Not so unusual for us this time of year but not what I was hoping for today it's just too cold to be out doing yard work. Outdoor plans get changed to indoor activities. Guess I'll just have some coffee and relax with a couple of seed catalogs!


Monday, March 30, 2015

Plum pretty!


The Plum tree is really showing off it’s blooms today in hopes of attracting some bees. It’s such a beautiful morning how can they resist being out doing their work?


Sunday, March 29, 2015

What can you do with all those limbs?


You're all done with the tree pruning but what can you do with all the debris? Depending on how much space you have or the needs you have you can put all of those limbs to various uses. We have a very small yard so some will be chipped and the chips composted or put in pathways, some will become Bean or Pea trellises and if I were crafty some could become baskets, wreaths or furniture. After debarking the larger pieces can be used to smoke meats and fish.

Some ideas that may be work for you!

1. Hugelkultur raised garden beds - there really isn't a good place in my yard for utilizing this idea, but I would love to hear from any on my readers who plan to or have already put one in. The bonus is that you can scale this to your own use. I keep this up and I’ll have to find a place to put one! Here is a link to one of the many sites that explain Hugelkulture:
 http://www.agrowingculture.org/2013/04/hugelkultur-the-composting-raised-beds/

2. Wattle Fencing - It's not a long lived fence, lasting just 2-5 years, but what a great way to use up those smaller limbs. Will make a post in the near future of my attempt at making a wattle fence.

My first attempt at a wattle fence ~ to support the peas 
3. Wreaths and small projects - We all like doing crafts and one of my daughters created this little twig frame with a few additions of flowers and a stuffed bear it will make a cute gift, from the heart.


4. Furniture - Have to get back to you on that... I've seen wonderful twig furniture but have never tried making any.

5. Smoking meats/fish - The bark must be removed or you will get a bitter flavor. More on that in future post!

Monday, March 9, 2015

To Prune or not to Prune ~ When, is the Question!

So many different schedules for pruning your fruit trees! You might well ask why. The question is fairly simple to answer, it depends on the types of fruit trees you have and your local growing season. Personally I like to prune in the spring and summer when the trees will be growing and will heal faster rather than the fall when they are getting ready to go dormant.

It's best not to over prune, you don't want to cut more than 1/3rd of the live growth:
     1. Cut out any dead branches and branches that are rubbing against others.
     2. Thin out the extra new shoots from the year before.
     3. Trim the tall branches down, depending on the height you need/want the tree to be.


Spring pruning will tell the trees to put on new growth and will spur them to heal over the wounds from pruning. Summer pruning will be less likely to spur water shoots (suckers.)

If you have some branches that you really need/want to keep but they are just too close to other branches you can use a piece of lath wood (notched at both ends) as a "spreader" to push them apart.

1. Apple, Cherry & Plum/Prune: Produces fruit on the fruit spurs from old wood.

2. Apricot, Nectarines & Peaches: Produces fruit on the new growth from the year before.


Tuesday, March 3, 2015

Chives, Garlic Chives and Garlic Propagation

Chives are easily propagated by division, they will also seed themselves, so if you want to save some seed allow them to bloom (bees love them) and watch for the blooms to fade and the little black seeds to start dropping. Divide by gently digging a smaller clump (5-10 plants/bulbs) away from the main clump in the spring or early fall, replant in the desired location. Remember, you can put some in pots and bring them in the house for winter herbs! They like well drained potting soil and bright light.


Garlic Chives
Garlic Chives are also easy to propagate by division and will reseed themselves if the blooms are left to seed. As with Chives bees & butterflies love the small star shaped flowers and so might you! They are a tasty addition to a spring salad. They have a flat grass like leaf, not hollow like Chives and white blossoms. The bulbs on Garlic Chives are not edible.


Garlic with bulblets

Garlic is another easy plant to divide. Depending on the variety you have they will also drop little bulbs and propagate themselves. When you are harvesting your garlic pick out some of the largest cloves to save for your fall planting for next years harvest. You can harvest the bulblets and plant them but they will take a couple of years before you get good sized cloves. If you want some fresh garlic taste early in the spring, harvest the leaves to add to your salads, stir fry.


Monday, February 9, 2015

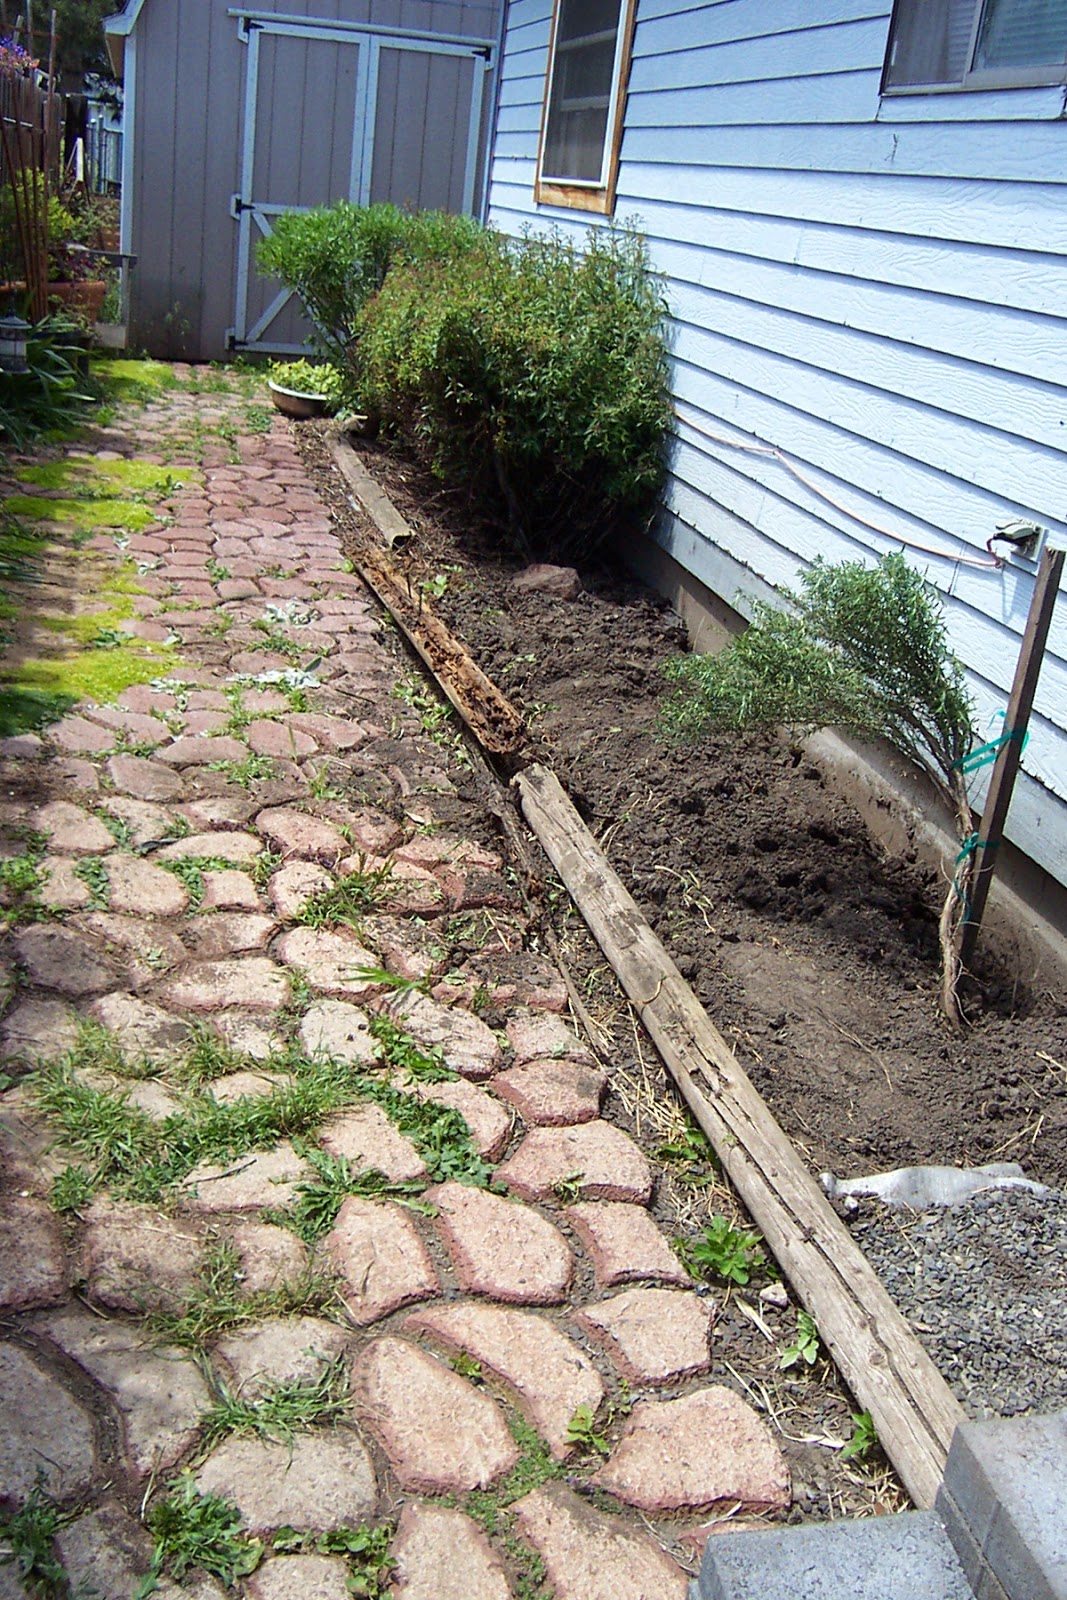
Planning to try using vinegar to kill the grass that is growing up in my pathway. It would be nice to get the mosses started there again, there are a few spots of moss still growing but the majority has died out. There are so many different formulas that I decided to do more reading on the subject. For anyone wanting to try the vinegar spray, I suggest you go to this link and read up on the findings of “The Garden Counselor.” The findings are quite interesting and informative. http://www.garden-counselor-lawn-care.com/vinegar-weed-killer.html


Friday, February 6, 2015

Vinegar to speed up seed germination


I found this interesting and plan to try it on some of the hard/woody type seeds.

Speed germination of flower seed:

You can get woody seeds, such as moonflower, passionflower, morning glory, and gourds, off to a healthier start by lightly rubbing them between a couple of sheets of fine sandpaper-and soaking them overnight in a solution of 1/2 cup apple cider vinegar and 1 pint warm water. Next morning, remove the seeds from the solution, rinse them off, and plant them.